Super Drum Racks: Quickly Audition Drum Samples in Ableton Live via Dj TechTools

Anyone that’s ever bought a sample pack from Loopmasters knows that they include lots of drum samples. The problem is that most sample packs don’t include ready to play drum racks or kits, which means producers spend a lot of time just creating drum kits rather than actually playing and recording. What if there was a way to create a drum rack that’s loaded with all the drum samples and that lets producers easily audition all the drum samples? Today Multiplier is going to show you how in Ableton Live!
Speed is crucial when it comes to producing music. It’s important that an idea can come and go without gear getting in the way of the creative process. Setting up this Drum Rack will make it easier to get in a state of flow and create drum patterns faster.
Once the Drum Rack is setup producers can start creating drum patterns and quickly change the sound of the pattern simply by selecting new samples with the chain selector knob. This is a much faster way of creating and testing new patterns without the need to load an entirely new drum kit.
How To Setup The Drum Rack
The first step is to drag a drum rack onto an empty track. Then go to the “Instruments” tab in Ableton’s browser and drag an “Instrument Rack” onto one of the drum rack cells. Most sample packs will organize the drum samples into folders for each sound: kick, snare, closed hat, open hat etc. To keep it simple we’ll start with instrument racks for 4 sounds – kicks, snares, hi hats, and percussion.
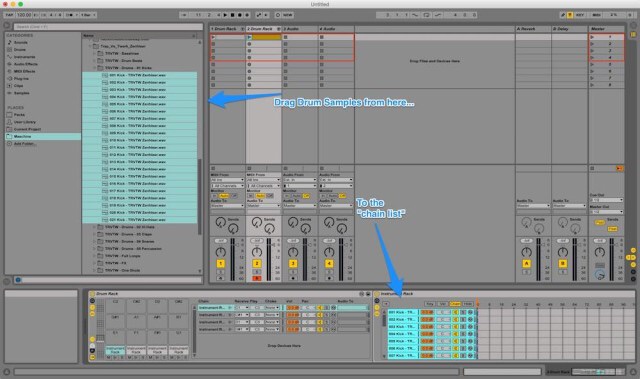
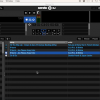
Once the drum rack cells have been loaded with instrument racks the next step is to drag the drum samples from a sample pack into the chain list. Now for each instrument rack, we’ll need to distribute the samples across the chain. A chain can hold up to 128 samples (since the midi range is 0 – 127). So if these instrument racks were maxed out across the 4 drum rack cells that gives us 4 x 128 = 512 samples in one drum rack!
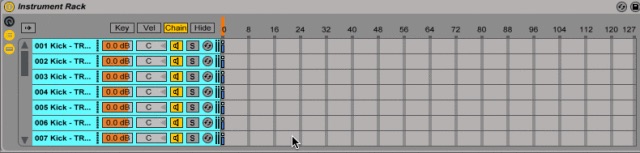
After all the drum samples have been loaded into each drum rack cell, the next step is to map the chain selector to a macro knob. This is how producers can quickly select and audition different drum samples from the chain. First the chain selector needs to be mapped to a Macro knob inside the Instrument Rack.

The last step is to map the Macro knob of the Instrument Rack to one of the Macro Knobs of the Drum Rack. This sounds a little tricky but the video tutorial covers it well along with another animated gif:

To ensure the Drum Rack is setup properly, start to trigger the drum rack while turning the Macro knob that’s mapped to the “Chain Selector”. If everything is setup properly then turning the knob while playing the drum rack should result in hearing different drum samples from the chain. While the Macro knobs can be controlled with a mouse, a midi controller such as Push would allow for easier control over the drum rack.
That’s it, now you’re ready to start auditioning drum samples and creating drum patterns at breakneck speeds. It seems complicated at first but after doing this process a few times new drum racks can be setup in minutes. This is an indispensable tool for getting the most out of drum samples from sample packs.